Bank Entries
Bank Entries allows users to enter, void, copy, and export journal entries that affect the cash account and should show as reconcilable items on the bank statement.

Void Bank Entry
-
Select the bank from the Bank drop-down list.
- Select the date range using the Calendar feature in the From and To fields.
-
Select the status from the Entry Status drop-down list. The default is Uncleared.
- Click the
 icon to void a specific bank entry. The Void Bank Entry form will display.

- Enter or select the Void Effective Date using the Calendar feature.
- Click the
 button. The Bank Entry Voided message will display.
 - Click the
.png) button to return to the Bank Entries grid.
button to return to the Bank Entries grid.
Create New Bank Entries
- Click the
.png) link. The Create New Bank Entries form will display.
link. The Create New Bank Entries form will display.
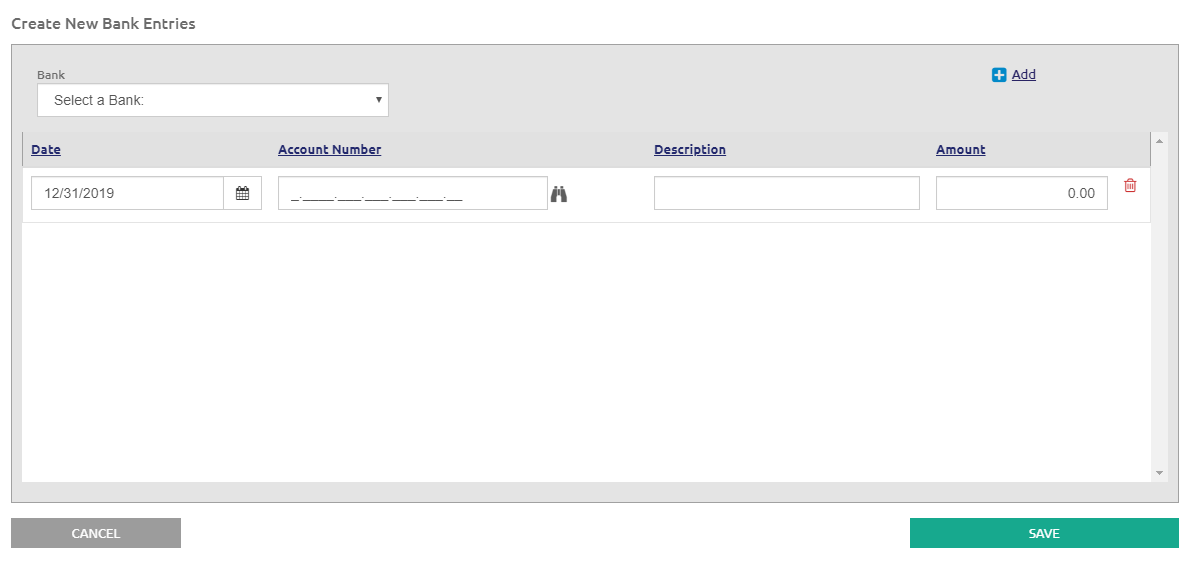
- Select the bank from the Bank drop-down list.
- Enter or select the date from the Date field.
NOTE: If you use a date that is not within the current month or year, a warning message will display, but the action will still be allowed.
- Enter the account number in the Account Number field, or click the
 icon to search for an account.
 - Click the link to add a new line to the bank entry, if needed.
- Enter a description in the Description field.
- Enter the amount in the Amount field.
- Click the
 icon to delete a line, if needed.
 - Click the
 button.
All entries entered through Bank Entries will display in the Bank Reconciliation as clearable items. Positive amounts will display in the Deposits section of the Bank Reconciliation. Negative amounts will display in the Checks section of the Bank Reconciliation.
©2021 | EMS LINQ, Inc.
School LINQ Help, updated 01/2021