Print Checks / Create ACH
Print Checks / Create ACH creates the payroll checks or deposits the money into an employee’s bank account(s) and updates the employee’s earnings and check history. Only one user can access the Print Checks / Create ACH form at a time to prevent duplicate check numbers from being used. This step is necessary to complete the payroll process. Payroll must be finalized before checks can be printed. Direct Deposits and Check Printing do not have to be done at the same time for a pay period.
NOTE: The ACH file can be created for direct deposit several days in advance, sent to the bank, but print pay stubs and checks on the actual check date.
Print Checks
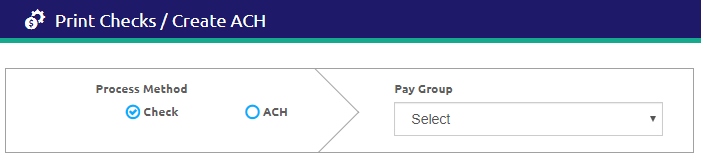
- Select the Check radio button.
- Select a pay group from the Pay Group drop-down list. A grid of available checks will display.
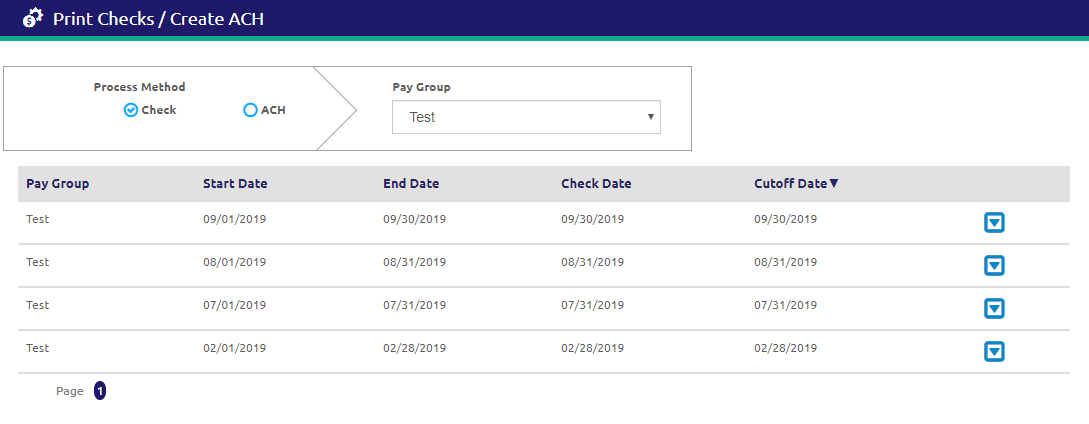
- Click the
 icon to expand the check details.
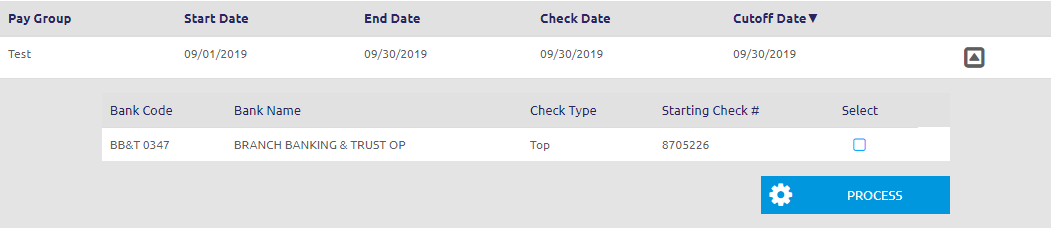
- Check the
 Select boxes to select the checks to print.
 - Click the
.png) button. The checks will display in a print dialog box and can be printed from here.
button. The checks will display in a print dialog box and can be printed from here.
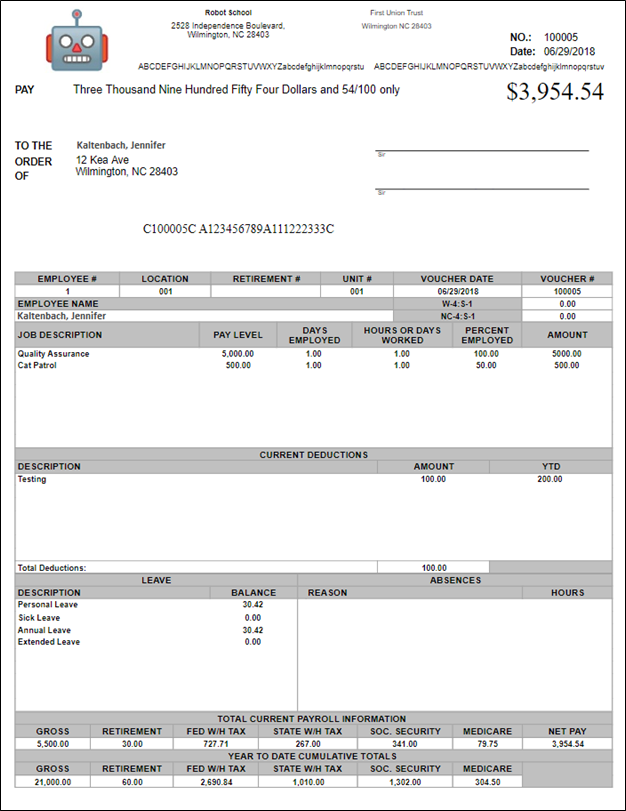
NOTE: All W-4 and NC4 information has been removed from the checks/stubs.
- Once the checks are displayed and printed, a form will display.
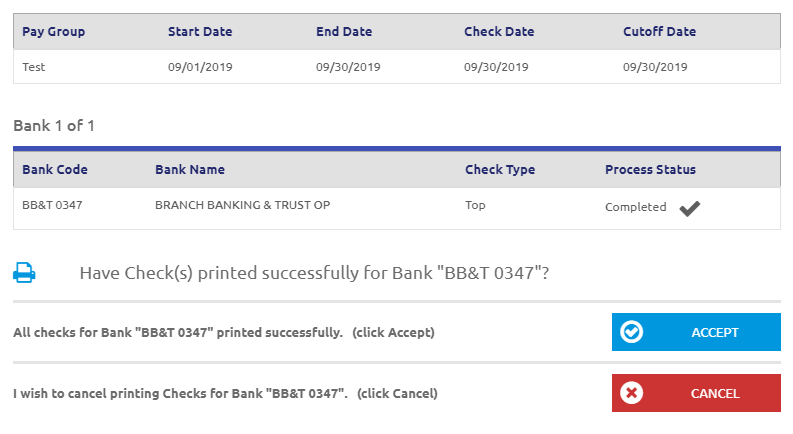
- Click the
.png) button if all checks printed correctly. They will not display in the Print Checks grid again.
button if all checks printed correctly. They will not display in the Print Checks grid again.
OR
- Click the
.png) button if all checks did not print correctly. You will be returned to the previous screen, where you can print the checks again.
button if all checks did not print correctly. You will be returned to the previous screen, where you can print the checks again.
Create ACH
IMPORTANT! ACH Processing - if the Cash Account associated with the employee’s salary account is attached to the bank selected in ACH Setup, then normal accounting will now be used and no system generated Invoice will be created. Intra-fund accounting, including the system-generated Invoice, will only be used if the Cash Account is not associated with the ACH bank. If your unit uses more than one bank for operational/payroll processing, please contact LINQ Support at 800.541.8999 for assistance with setting up the ACH Debit/Credit account masks.
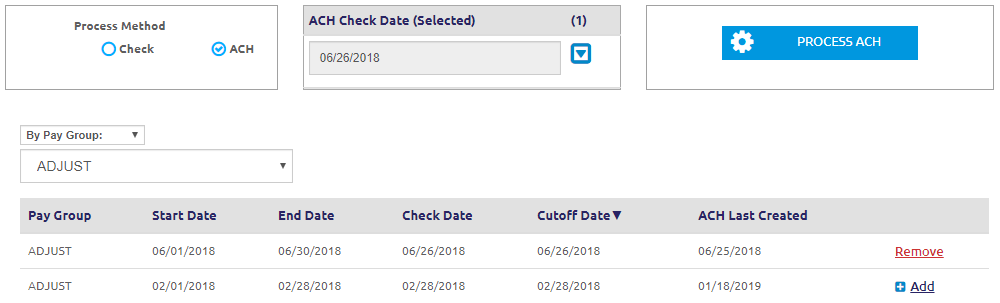
- Select the ACH radio button.
- Select By Check Date or By Pay Group from the drop-down list.
- If By Check Date is selected, select a Date from the drop-down list.
- If By Pay Group is selected, select a Pay Group from the drop-down list.
- Only unprinted pay periods will be displayed.
- Only one group and pay period can be printed at a time.
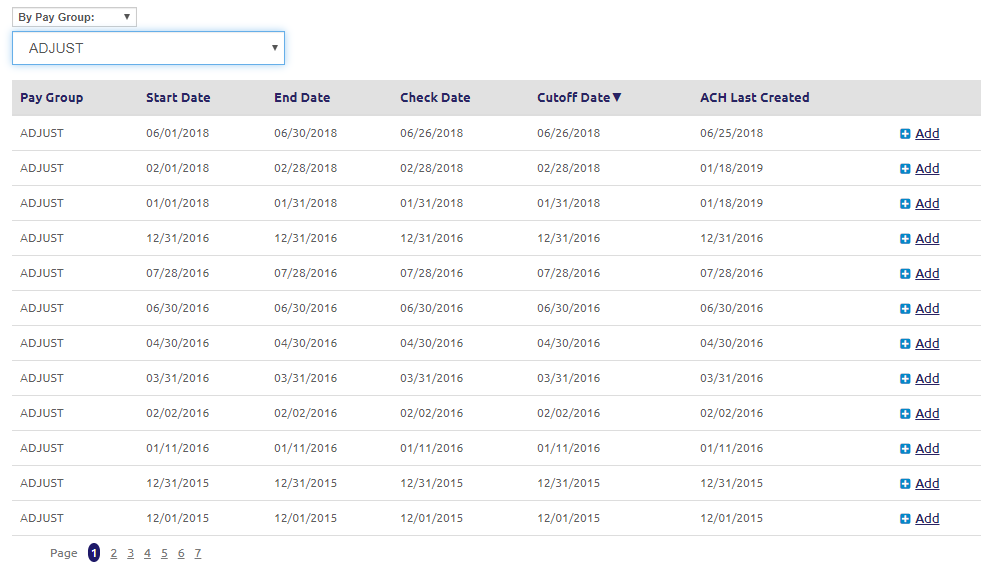
- Click the
.png) link to add checks to be processed. Check dates selected and the
link to add checks to be processed. Check dates selected and the  button will display at the top of the screen.
- You can add several checks at the same time.
- Checks from different groups can be added, but they must have the same check date.
- The number of checks to be processed will display in parenthesis, with the date of the checks selected.
- Click the icon to display the checks selected.
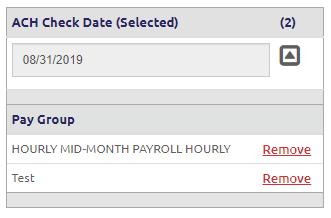
- Click the
.png) link to remove any checks from the list to be processed.
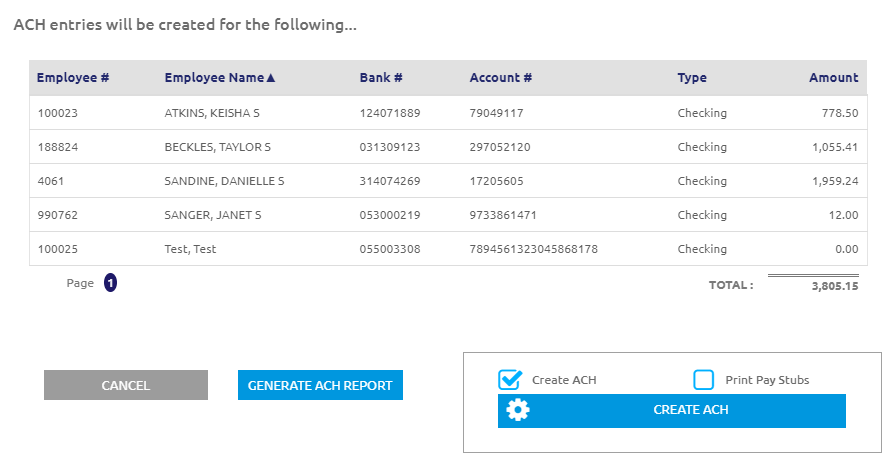
link to remove any checks from the list to be processed. - Click the button when everything is verified. A grid will display with all of the employees with a check being processed with the selected ACH.
-
Check the Create ACH box, the Print Pay Stubs box, or both check boxes. These processes can be done at the same time or separately. You can create the ACH first, send it to the bank, and then print the pay stubs later.
- When the Create ACH and Print Pay Stubs boxes are both checked, the system defaults to ALL jobs for printing direct deposit slips.
- When Print Pay Stubs is checked, a PDF with the deposit slips will display.
- Click the
 button to create a list of all the employees on that file.
 - Click the
.png) button to create the ACH.
button to create the ACH. - If the user is locked out of the process, a warning message will display.
- Example: If one user did not complete the printing or ACH of checks before leaving the screen, all other users will remain locked out, and a message will display identifying the user who has the process locked. Only the user who has locked the process may unlock it.
- Click the Done button.
- If Print Deposit Slips was checked, a viewer will open with the deposit slips, and they can be viewed and printed from there.
- The ACH file can be opened or saved from here as well.
- Click Open to open the file in Notepad.
- Click Save to save the file to a computer.
Rules for Printed Checks/ACH
Reference the following rules to decide if an employee is eligible for direct deposit or if they must receive a paper check.
- Print a check:
- If the employee does not have any direct deposit information set up
- If the employee has direct deposit information set up but none have been validated
- Include the employee in the ACH file with the amount of zero
- If the employee has multiple direct deposit rows set up and none are validated
- Include the employee in the ACH file with the amount of zero
- ACH:
- If the employee has direct deposit setup and validated
- If the employee has multiple direct deposit rows setup and at least one is validated
- Include the employee in the ACH file with the amount of zero for the invalidated accounts
- Money associated to the invalidated accounts will be included with the validated account
- If more than one account is validated the invalidated account will be added to the first percentage account.
©2021 | EMS LINQ, Inc.
School LINQ Help, updated 01/2021