Unit Setup
Unit Setup is to be completed at the District level.
General Info Tab
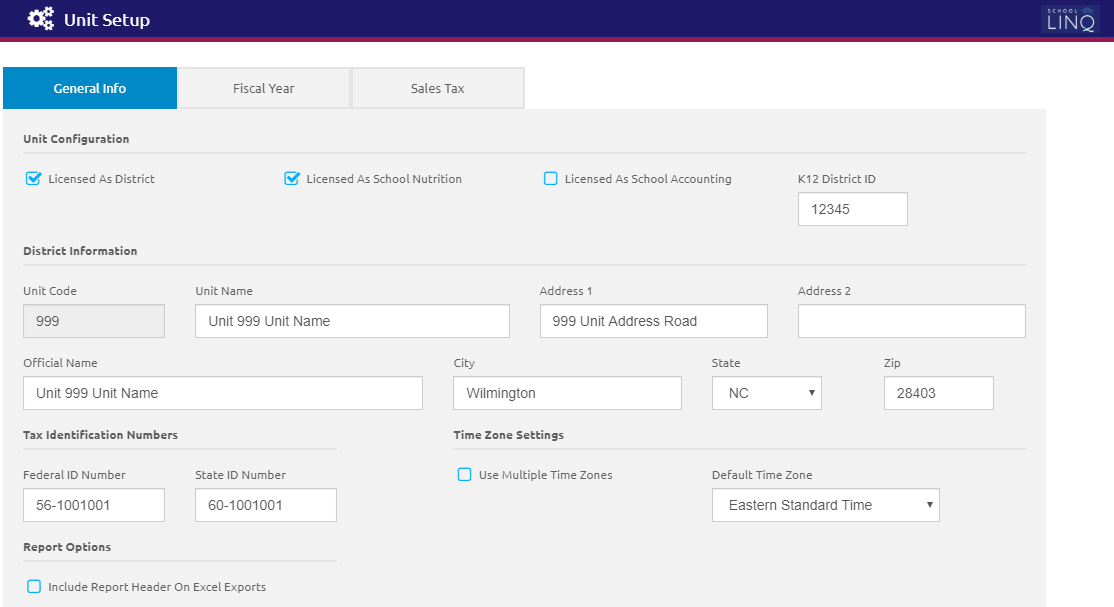
This tab manages Unit Configuration, District Information, Tax Identification Numbers, Time Zone Settings, and Report Options.
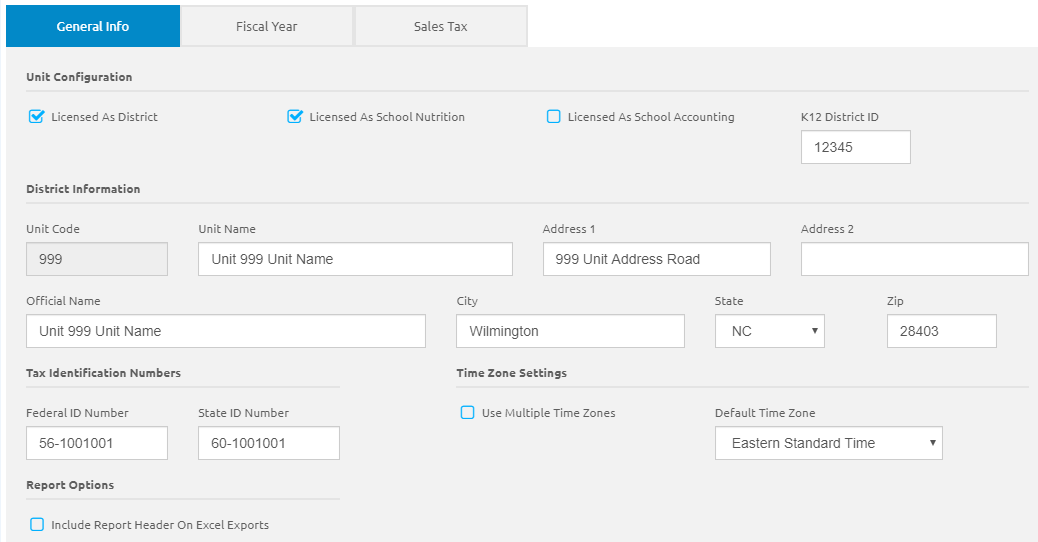
Unit Configuration
- Check the appropriate boxes:
- Licensed As District
- Licensed As School Nutrition
- Licensed As School Accounting
- Enter the district ID in the K12 District ID field.
- Click the
 button.
District Information
- The Unit Code is read-only and will be set up by EMS LINQ, Inc.
- Enter the district name in the Unit Name field.
- Enter the official name in the Official Name field. This is the legal name that goes on W2s and other official documents.
- Enter the address in the address fields.
- Click the button.
Tax Identification Numbers
- Enter the federal ID in the Federal ID Number field.
- Enter the state ID in the State ID Number field.
- Click the button.
Time Zone Settings
- Check the Use Multiple Time Zones box if multiple time zones will be used at this site, or for the employee job.
- The Time Zone Settings section has been added in preparation of the future release of the timekeeping module; time zones do not need to be set at this time.
- Time zone information will be stored for each district to coordinate with the Timekeeping Clock-in/Clock-out processes of the Employee Portal.
- Each district has a master Time Zone Setting here in Unit Setup, with an override option on each site in Site Setup, and also one for each job on the Jobs Tab in Manage Employees.
- Select a time zone option from the Default Time Zone drop-down list.
- Click the button.
Report Options
- Check the Include Report Header On Excel Exports check box for header details to be exported to Excel.
- Click the button.
Fiscal Year Tab
This tab allows users to set up fiscal years.
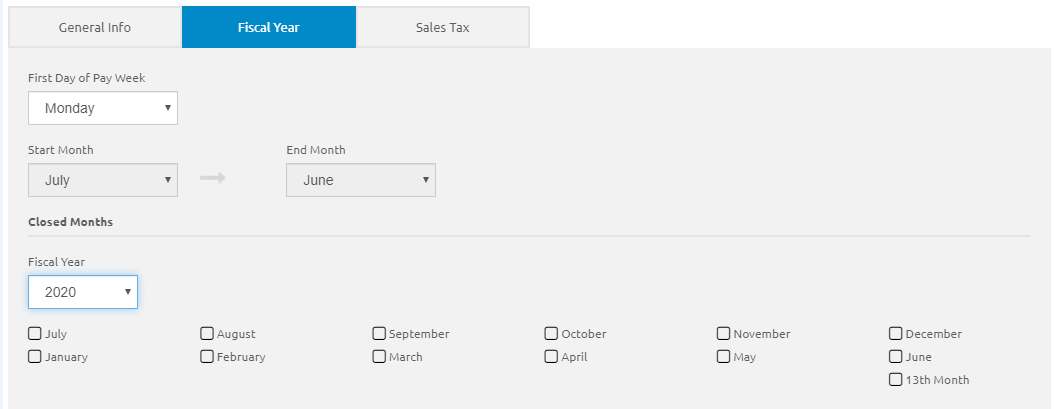
- Select a day from the First Day of Pay Week drop-down list.
- Select the month range from the Start Month and End Month drop-down lists.
- Select the fiscal year from the Fiscal Year drop-down list.
- To set up a new fiscal year, select a year from drop-down list and click the
 button.
- To set up a new fiscal year, select a year from drop-down list and click the
- Check the boxes next to the months that are Closed and Saved. This means that no new activity is allowed for the fiscal year/month.
- Reopen a month by unchecking the box and saving your changes.
- Click the button.
Sales Tax Tab
This tab manages determines the rates of Goods, Services, and Food.
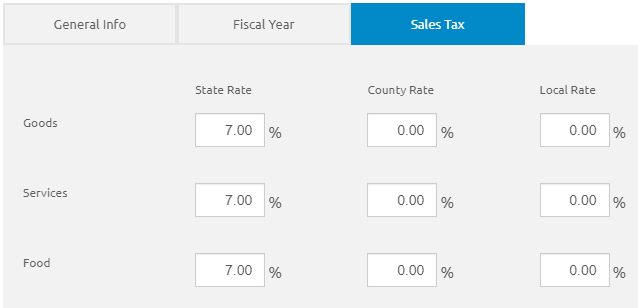
- Enter the rates to be used as default values for Goods, Services, and Food when a new vendor location is added in the State, County, and Local Tax Rate fields. You will still be able to change them for specific locations, if necessary.
- Click the button.
©2021 | EMS LINQ, Inc.
School LINQ Help, updated 01/2021