Begin Next School Year Checklist
General
- Verify all cafeteria computers are functional.
- Confirm you can log into Meals Plus Web successfully.
- Verify all External Hardware is operational.
- Keypads, Scanners, Printers, etc.
System Settings
System Settings
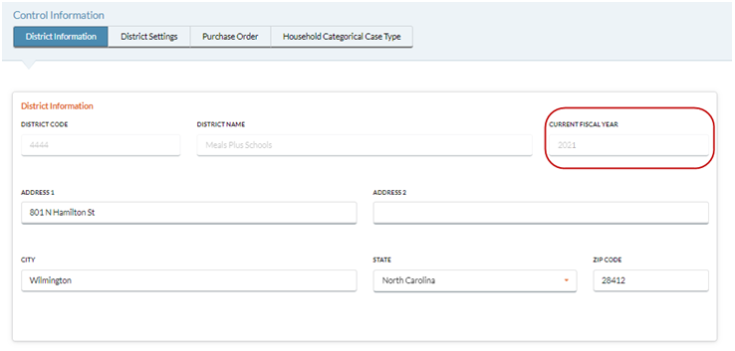
- Verify the Current Fiscal Year on the District Information Tab in Control Information.
-
Review Security: User Role Access and User Setup. Add new cashiers/users, assign sites and items as needed.
- Import Students for the new fiscal year.
Manually Import a Student file, or
Set up Auto Import Settings for automatic Nightly Imports, or
Enable automatic PowerSchool imports by clicking the Enable PowerSchool Integration box on the PowerSchool Integration form, or
Contact Meals PlusSupport to re-enable your nightly imports.
Serving Reports and Serving Settings
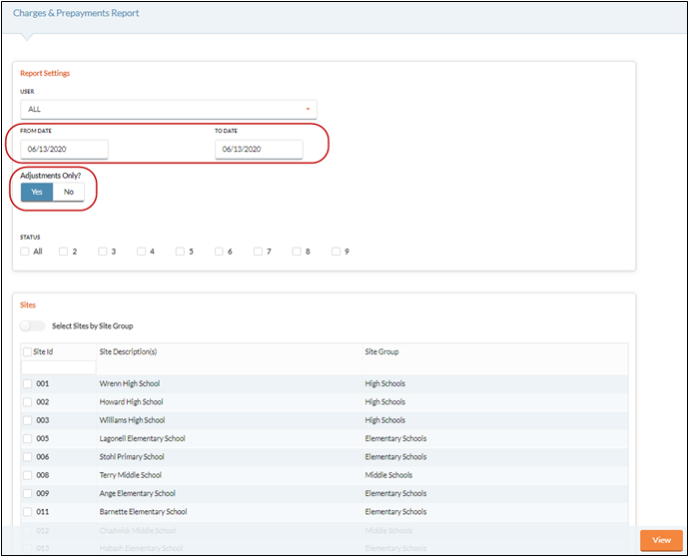
- Run an Account Adjustment report to get a list of deleted students who had balances deleted from Close the School Year.
- Reports: Serving Reports: Charges & Prepayment: Adjustments Only
- From and To Dates should be the same as Close School Year date.
-
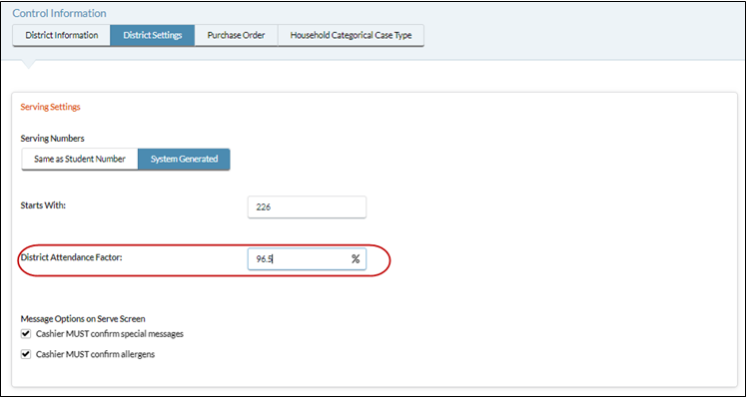
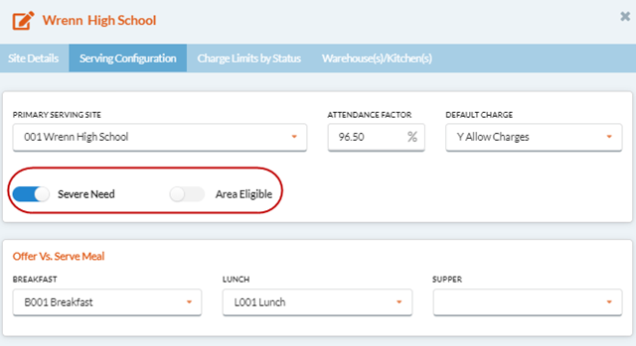
Review/edit Attendance Factor in the District Settings tab on Control Information.
-
Review/update Served Item Setup: Meal Prices, State Reimbursable items and Assigned Users.
-
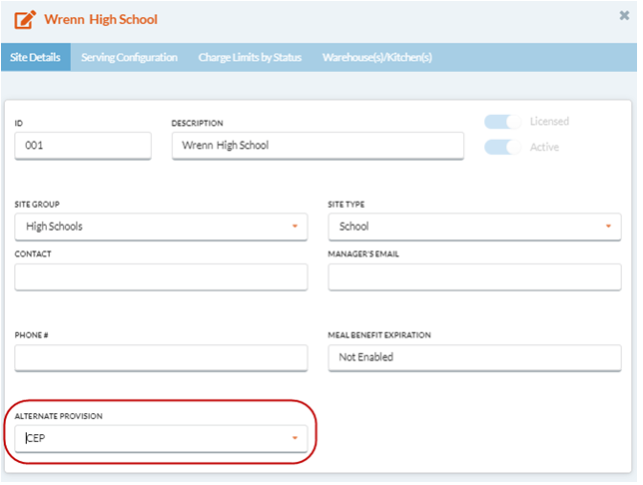
Review/update Site Setup: Alternate Provision, Serving Screen, Default charges, etc. NOTE:Before setting up a new a provisional site in Serve: Community Eligibility Provision, verify a new student import has been done in Utilities: Import Students/Adults for the current fiscal year.
-
Review/update Account Setup: Special Messages, Allergens, etc.
-
Create Reimbursement Rates for the new fiscal year.
-
Enter/edit Meal Equivalents for the new fiscal year.
Application Settings
- Verify the Income Brackets imported automatically for the new fiscal year by clicking the
 button.
 - Create a new School Calendar and set the Meal Benefit Expiration Date, the Grace Period (Calendar) Days for new and modified applications, the CEP Transfer (Operational) Days, and # of MBE (Operational) Days for all sites.
- Students at CEP/Provision sites will all be set to a Status 2 in order to give them a 'carryover' status if they transfer to a new site for the new school year.

-
Review/modify Letter Setup and Language Setup.
-
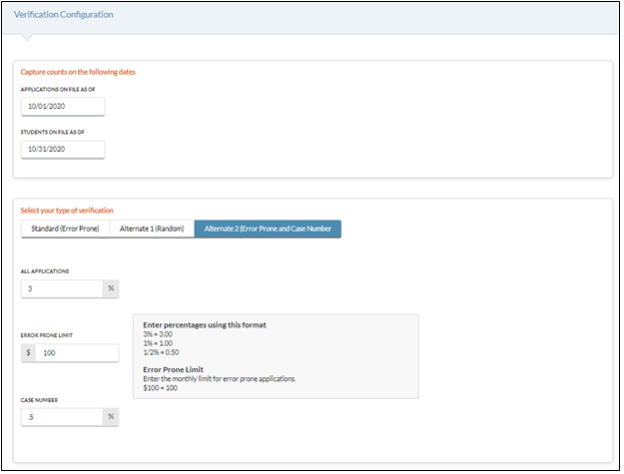
Set up Verification Configuration form.
-
Run the Direct Certification/Exempt utility after a new student import to identify direct certified students.
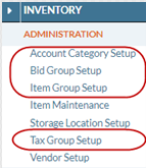
Inventory
- Update Inventory Items as needed.
Review Packaging
Update current Bid Prices
Update Vendor information
-
Review/update Account Categories and Groups as needed.

Import/create new Items
K12PaymentCenter.com
- Verify Meals Plus service is running.
- Check EMS log for errors.
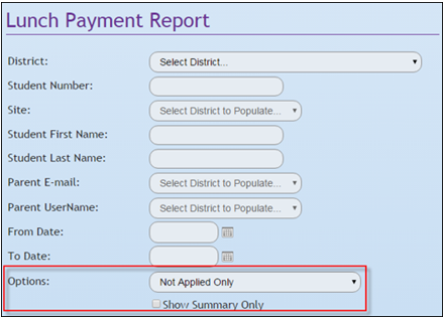
- Check Payment Report for ‘unapplied’ payments.
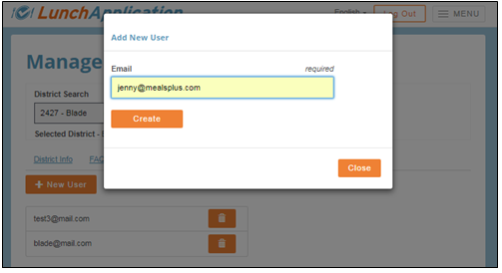
LunchApplication.com
- Review/edit District Info.
- Add/edit Users.
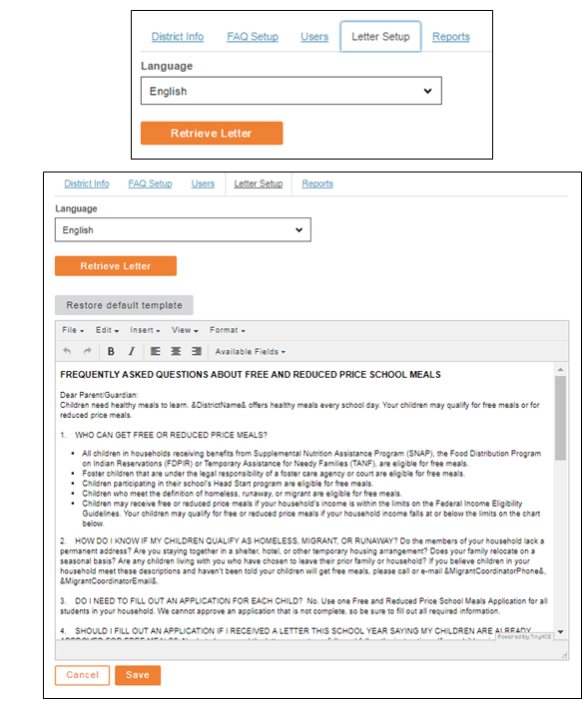
-
Review/edit Household Letter Setup.
-
Contact Meals Plus Support to enable LAP if you had it disabled for the summer.
©2021 EMS LINQ Inc.
Meals Plus Web Help, 06/2021