Selection Letters
After Verification Selection, the selected households must be sent a letter to inform them they have been selected and tell them what information is required.
 This is the final step in Verification Selection.
Once a selection has been confirmed, the application cannot be un-selected. All selected applications must be verified.
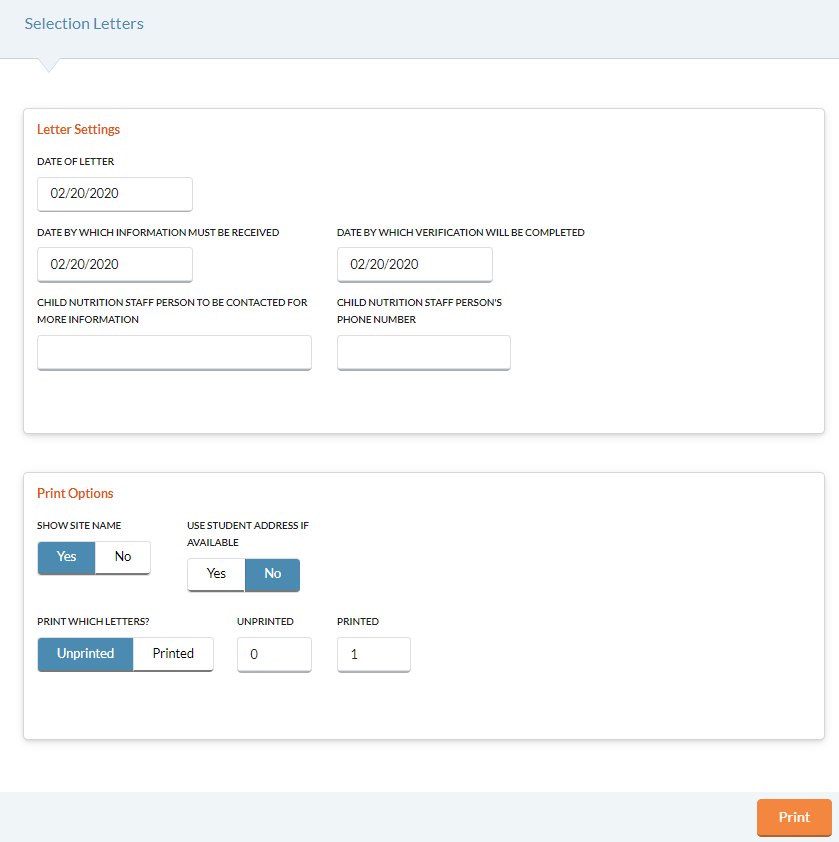
- Select the date of the letter from the Date of Letter field.
- Check the Show Site Name box to include each student’s school along with their name.
- Enter a date in the Enter date by which information must be Received field using the Calendar feature.
- Enter a date in the Enter date by which information must be Completed field using the Calendar feature..
- Enter a name in the Enter Child Nutrition Staff Person To Be Contacted For More Information field.
- Enter their phone number in the Enter Child Nutrition Staff Person’s Phone Number field.
- Select Yes or No for Use Student Address if Available.
- Selecting Yes will use the Address on the Student's Account, in Account Setup.
- Selecting No will use the Address on the Student's Application.
-
Select Email or Print for the Action on how the letters will be sent.
-
Select Print to see a preview of the letters in a PDF.
-
Select Email to email the meal status letter a parent/guardian.
-
Users can email any letter that is here.
-
-
-
Click the
 button to create the letters. A Notification will display at the top of the form.
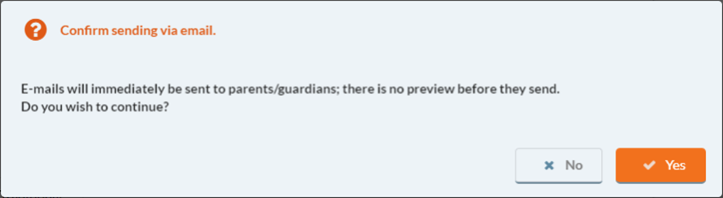
-
Click Yes to email the letters or No to cancel.
-
A status bar will display as emails are being sent.
-
Users are prompted after emails are sent to manually print any letters that were undeliverable (user has bad or blank email addresses).
-
Printed/Unprinted letters are updated when letters are emailed successfully.
-
Letters are emailed to the email address entered in the Head of Household Email field of the Modify Existing Application screen.
-
-
-
Click the Notification icon, and click Notification Letters Successfully Generated. The Notification or Direct Certified Letters will open as a PDF in a separate tab.
-
Letters can also be viewed from Reports: System Reports: Processed Documents.
Unprinted / Printed
- Select Unprinted if you have not run Selection Letters yet or if you have added new applications to Verification.
- Select Printed if you want to reprint letters that have already been run.
- You may not be using some of these fields in your Verification Selection Letter. You can leave those fields blank. Please see Administration: District Settings: Letter Setup.
-
Click Print to preview the letters. The letters will open as a PDF in a separate window, and can be printed from the PDF viewer.
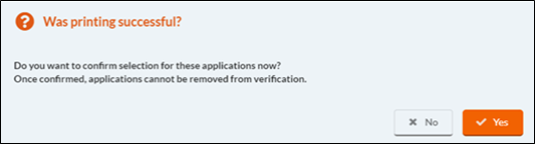
 When you close the Selection Letter preview for Unprinted letters, you will be asked if you want to confirm selection.
-
If you click No, you can continue to work in the Results Inputstep, where users can Directly Verified, Verify No Change, Deny As Incomplete, Deny as No Response or Household Declined.
-
If you click Yes, it will finalize the Selection for these applications and Start Over will be disabled.
©2021 EMS LINQ Inc.
Meals Plus Web Help, 02/2021