Each company or individual that you will be purchasing from will need to be set up as a vendor.
Complete the following form to set up a vendor:
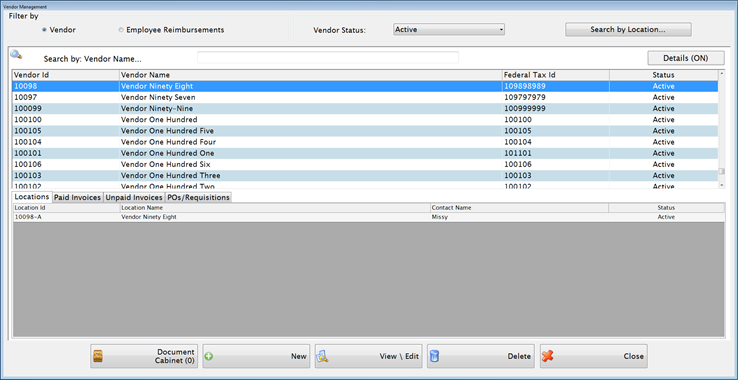
Select to filter by Vendor or Employee Reimbursements.
A Search by: box is available, but also a Search by Location button is there to aid your search.
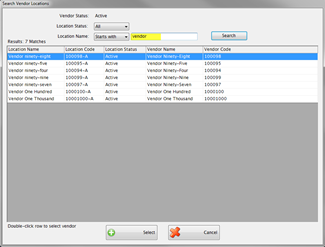
The Search Vendor Locations screen has Location Status filter and a search can be done using Location Name. NOTE: The only vendors displayed are in an Active status.
Clicking the column headings will alter the Search by: box, allowing searches to be done by Vendor Id, Vendor Name, or Federal Tax Id.
To view or edit a vendor, double-click on the vendor or click the View\Edit button.
To set up a new vendor, click New for a new data entry screen.
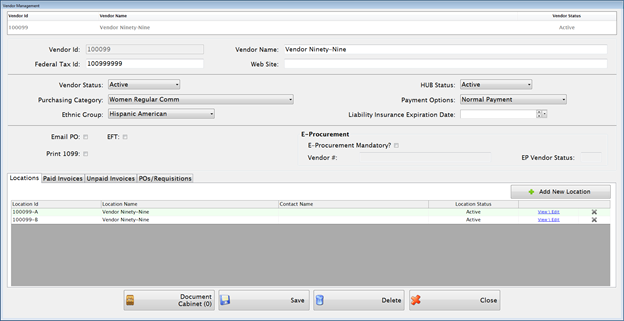
A unique Vendor ID will be assigned automatically in the Vendor ID field, but you can change it if you want to assign a different ID. Alpha and numeric characters can be used.
Enter the vendor’s name in the Vendor Name field.
Enter a website address in the Web Site field, if desired.
Choose a Vendor Status, HUB Status, Purchasing Category, Payment Options, and Ethnic Group from the dropdowns provided. Note: Purchasing Categories areset up under Administration: Purchasing Category Setup.
Enter a date for the Liability Insurance Expiration Date.
Check the EFT box if this vendor is paid by Electronic Funds Transfer.
Check the Print 1099 box if this vendor should receive a 1099 form. If 1099 is checked, you will get a dropdown list for selecting the appropriate 1099 box number.
Check the Email PO box if you would like the purchase order emailed to the vendor.

Each vendor requires at least one location. Click the Add New Location button.
 to delete a location.
Double clicking on the Location or clicking the View \ Edit button allows you to review and make necessary changes to the location.
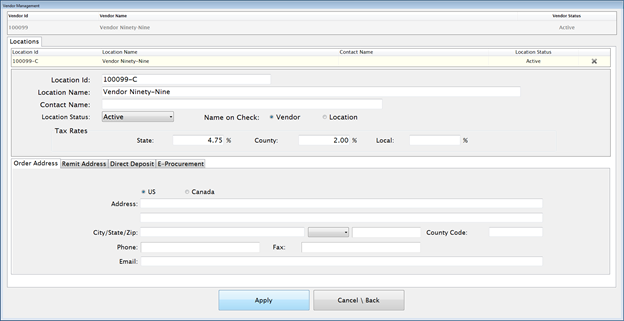
The Location Id is assigned automatically but can be changed here.
A Vendor Name will default in the Location Name field but can be changed.
Enter a contact name for this vendor location in the Contact Name field.
Select Active, Inactive or Unusable from the Location Status dropdown list. Locations must have an Active status to be used for a new Requisition or Invoice.
Select Vendor or Location.
The Tax Rates from the Control File will be displayed by default but can be changed. Tax rates are tied to each vendor location in order to handle different tax rates by county or state.
Order Address tab
Type the Address, Phone, Fax, Email and Contact. The County Code will default to have the county code that is listed in the E-Procurement tab of the Control File, but can be changed.
Remit Address tab
Type the Address, Phone, Fax, and Email. Or the Same as Order Address button is available if the information is the same as the order address.
Direct Deposit tab
Direct Deposit Information will have to be completed if this vendor location is to be paid by ach. Enter the Direct Deposit Bank, Account #, and Account Type. The set up for these banks is in Payroll: Administration – Direct Deposit Bank Setup.
E-Procurement tab
EP Location Status and the EP Vendor Contact information is displayed here.
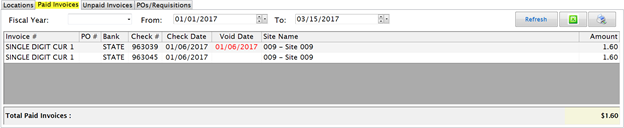

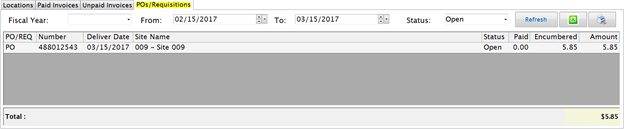
Select a Year from the Fiscal Year dropdown list or enter a date range in the From and To fields.
The matching records appear in the 141 grid, if any. Click Print to print a list of the records. Click the green Excel button to export the information that is in the grid, to an Excel worksheet.
Document Cabinet allows the user to add documents to a vendor.
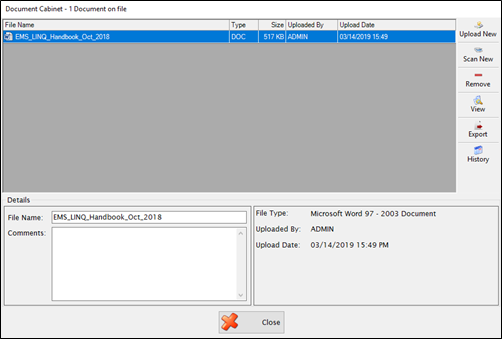
Upper Grid
Displays all the documents currently attached to this record.
Select any record to display more in Details section. You can view any comments along with whom and when the document was added to this record.
To add a new document to this record, click Upload New and you will be given a screen to browse to your file. You can change the File Name and add Comments as needed.
Click Scan New to scan and add a new document directly to this record.
To remove a document, highlight the document in the grid and click Remove. Note: Delete rights have to be granted in System Management.
Click View to see the selected document. The document will open in Read Only status.
Any file in the document cabinet may be exported by clicking the Export button. You will be given a browse box to select where to save the document.
History shows when documents have been Added, Deleted, and Shared.
©2019 EMS LINQ, Inc.
Fund Management, revised 03/2019